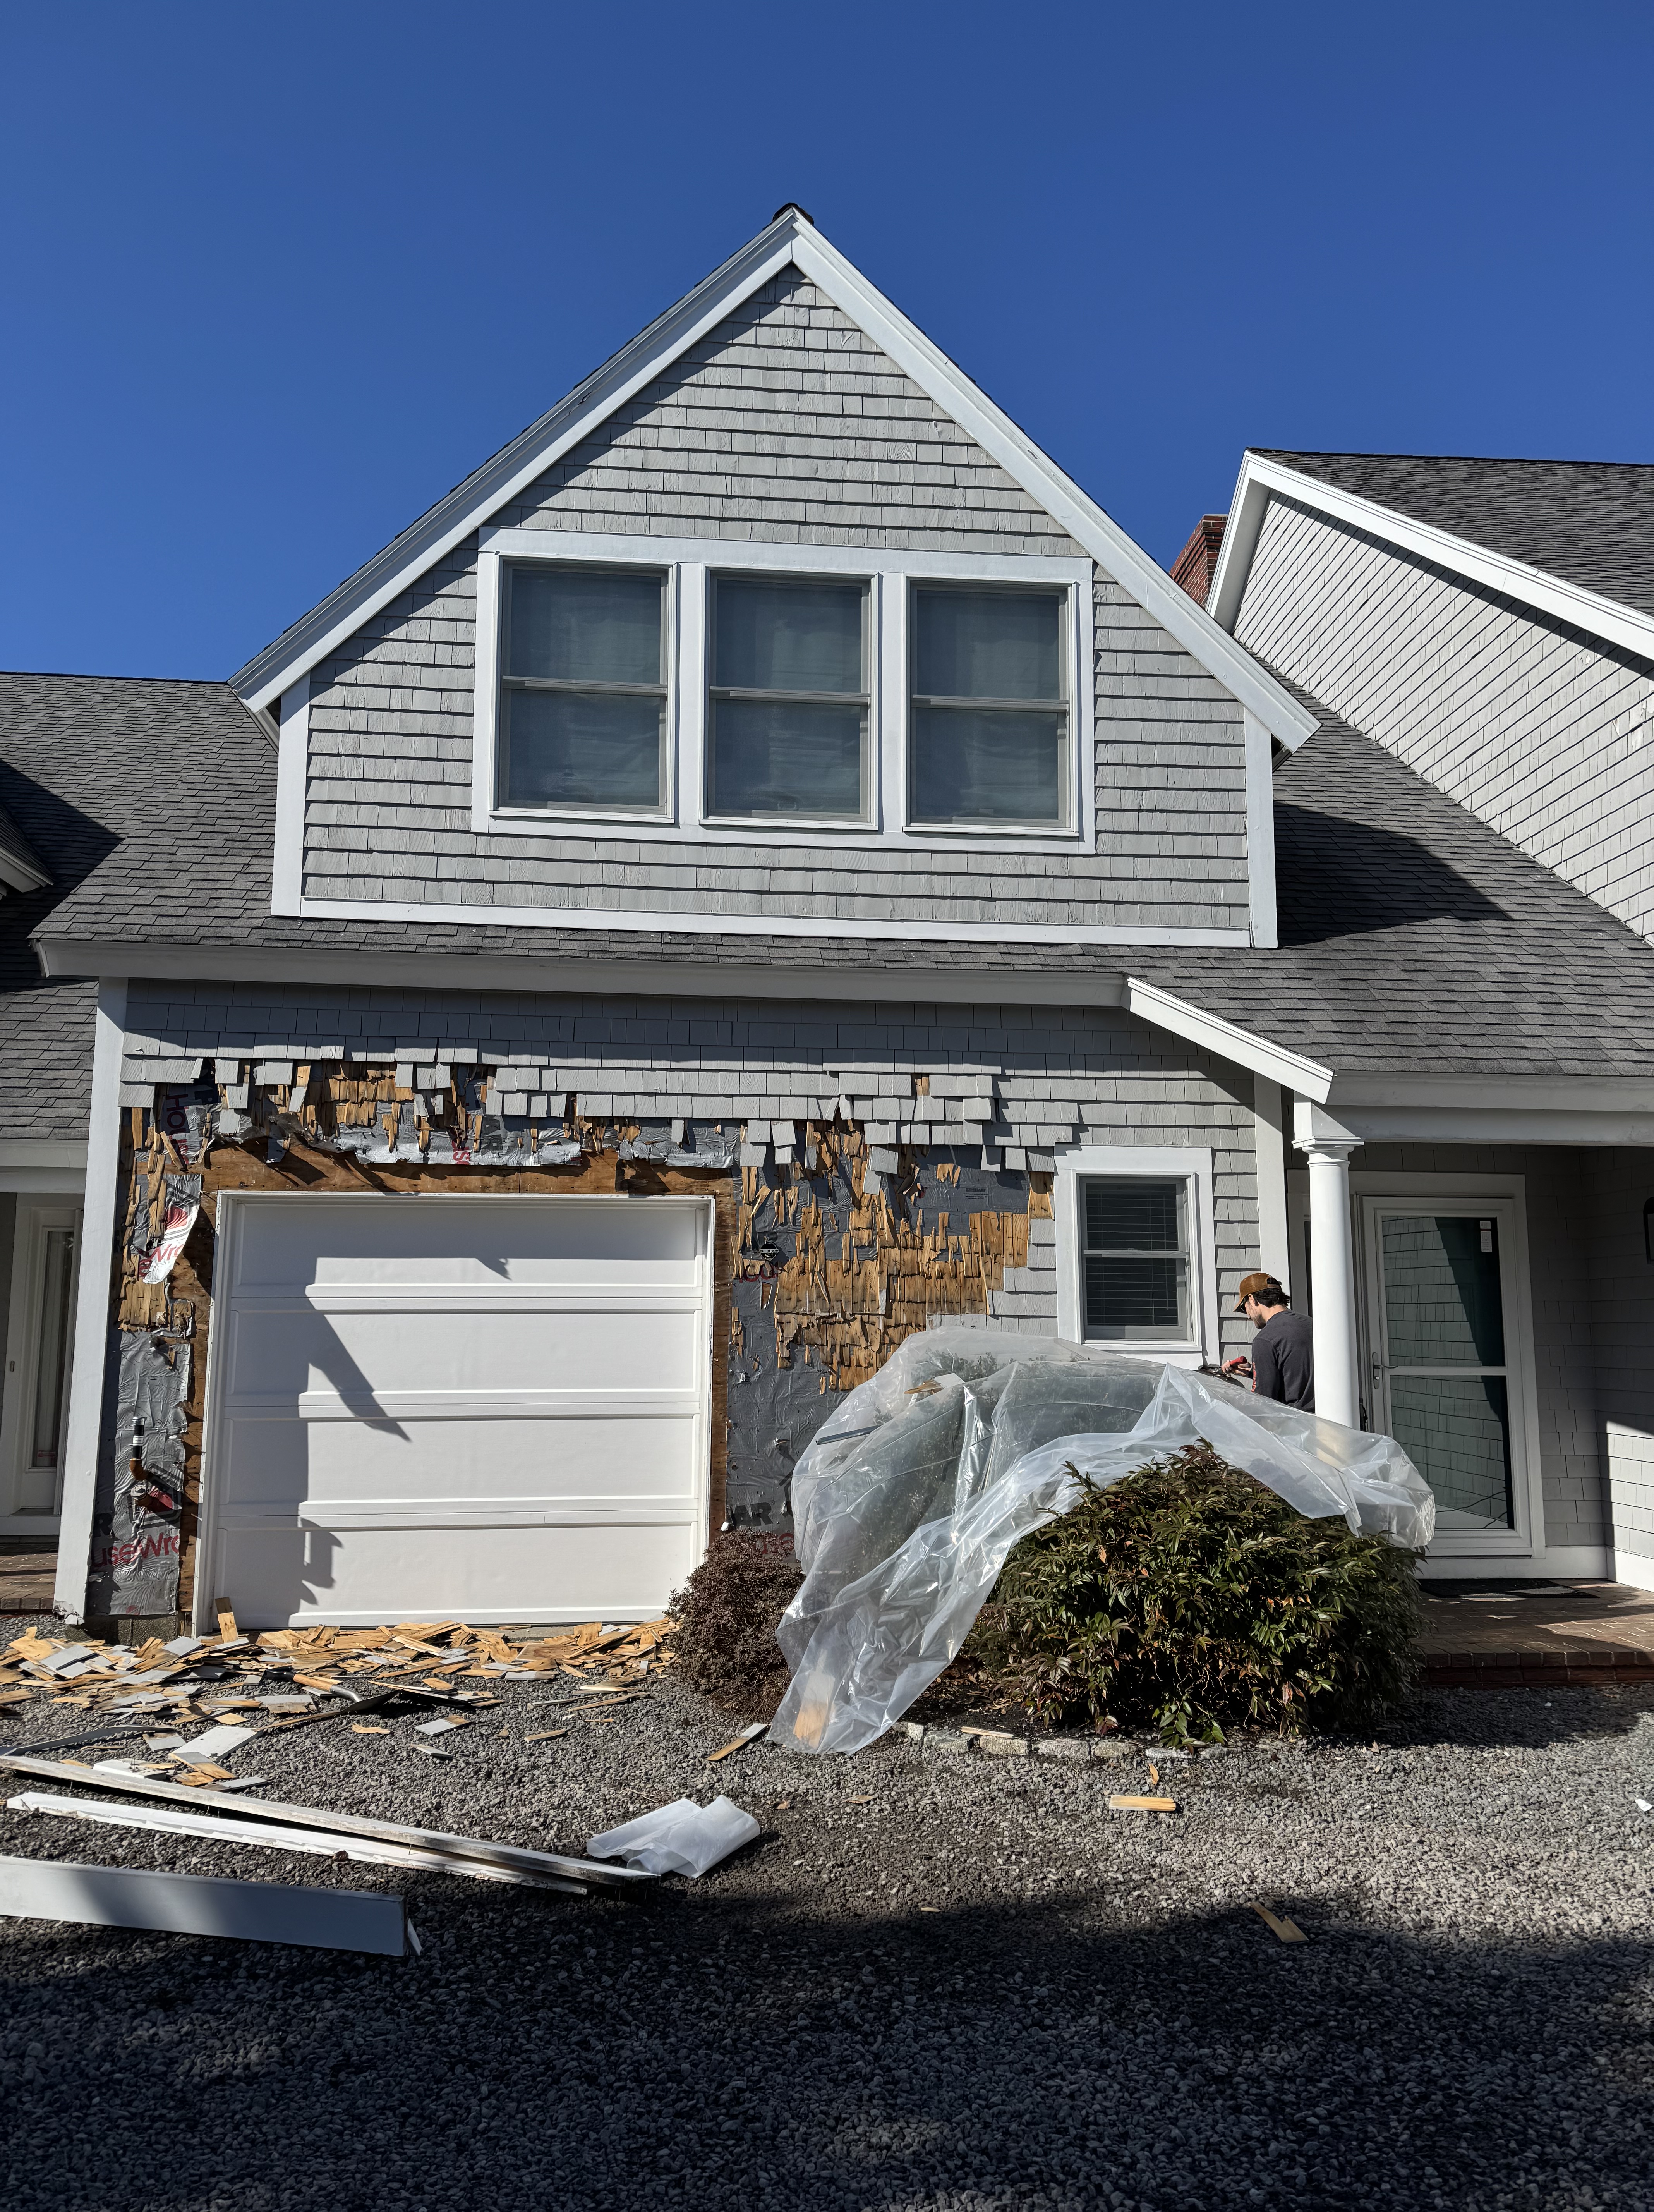
We were asked to remove and replace these cedar shakes.
We noticed a few things that were incorrect from the previous installation.
There was no air barrier between the shakes and the substrate on the wall. The nails used were not stainless steel and the repairs done were not consistent with the previous installation.
Here is a list of things to do with cedar shakes.
Start with the right wood
We hand-select premium cedar shakes to make sure you’re getting the best look and performance from the start.
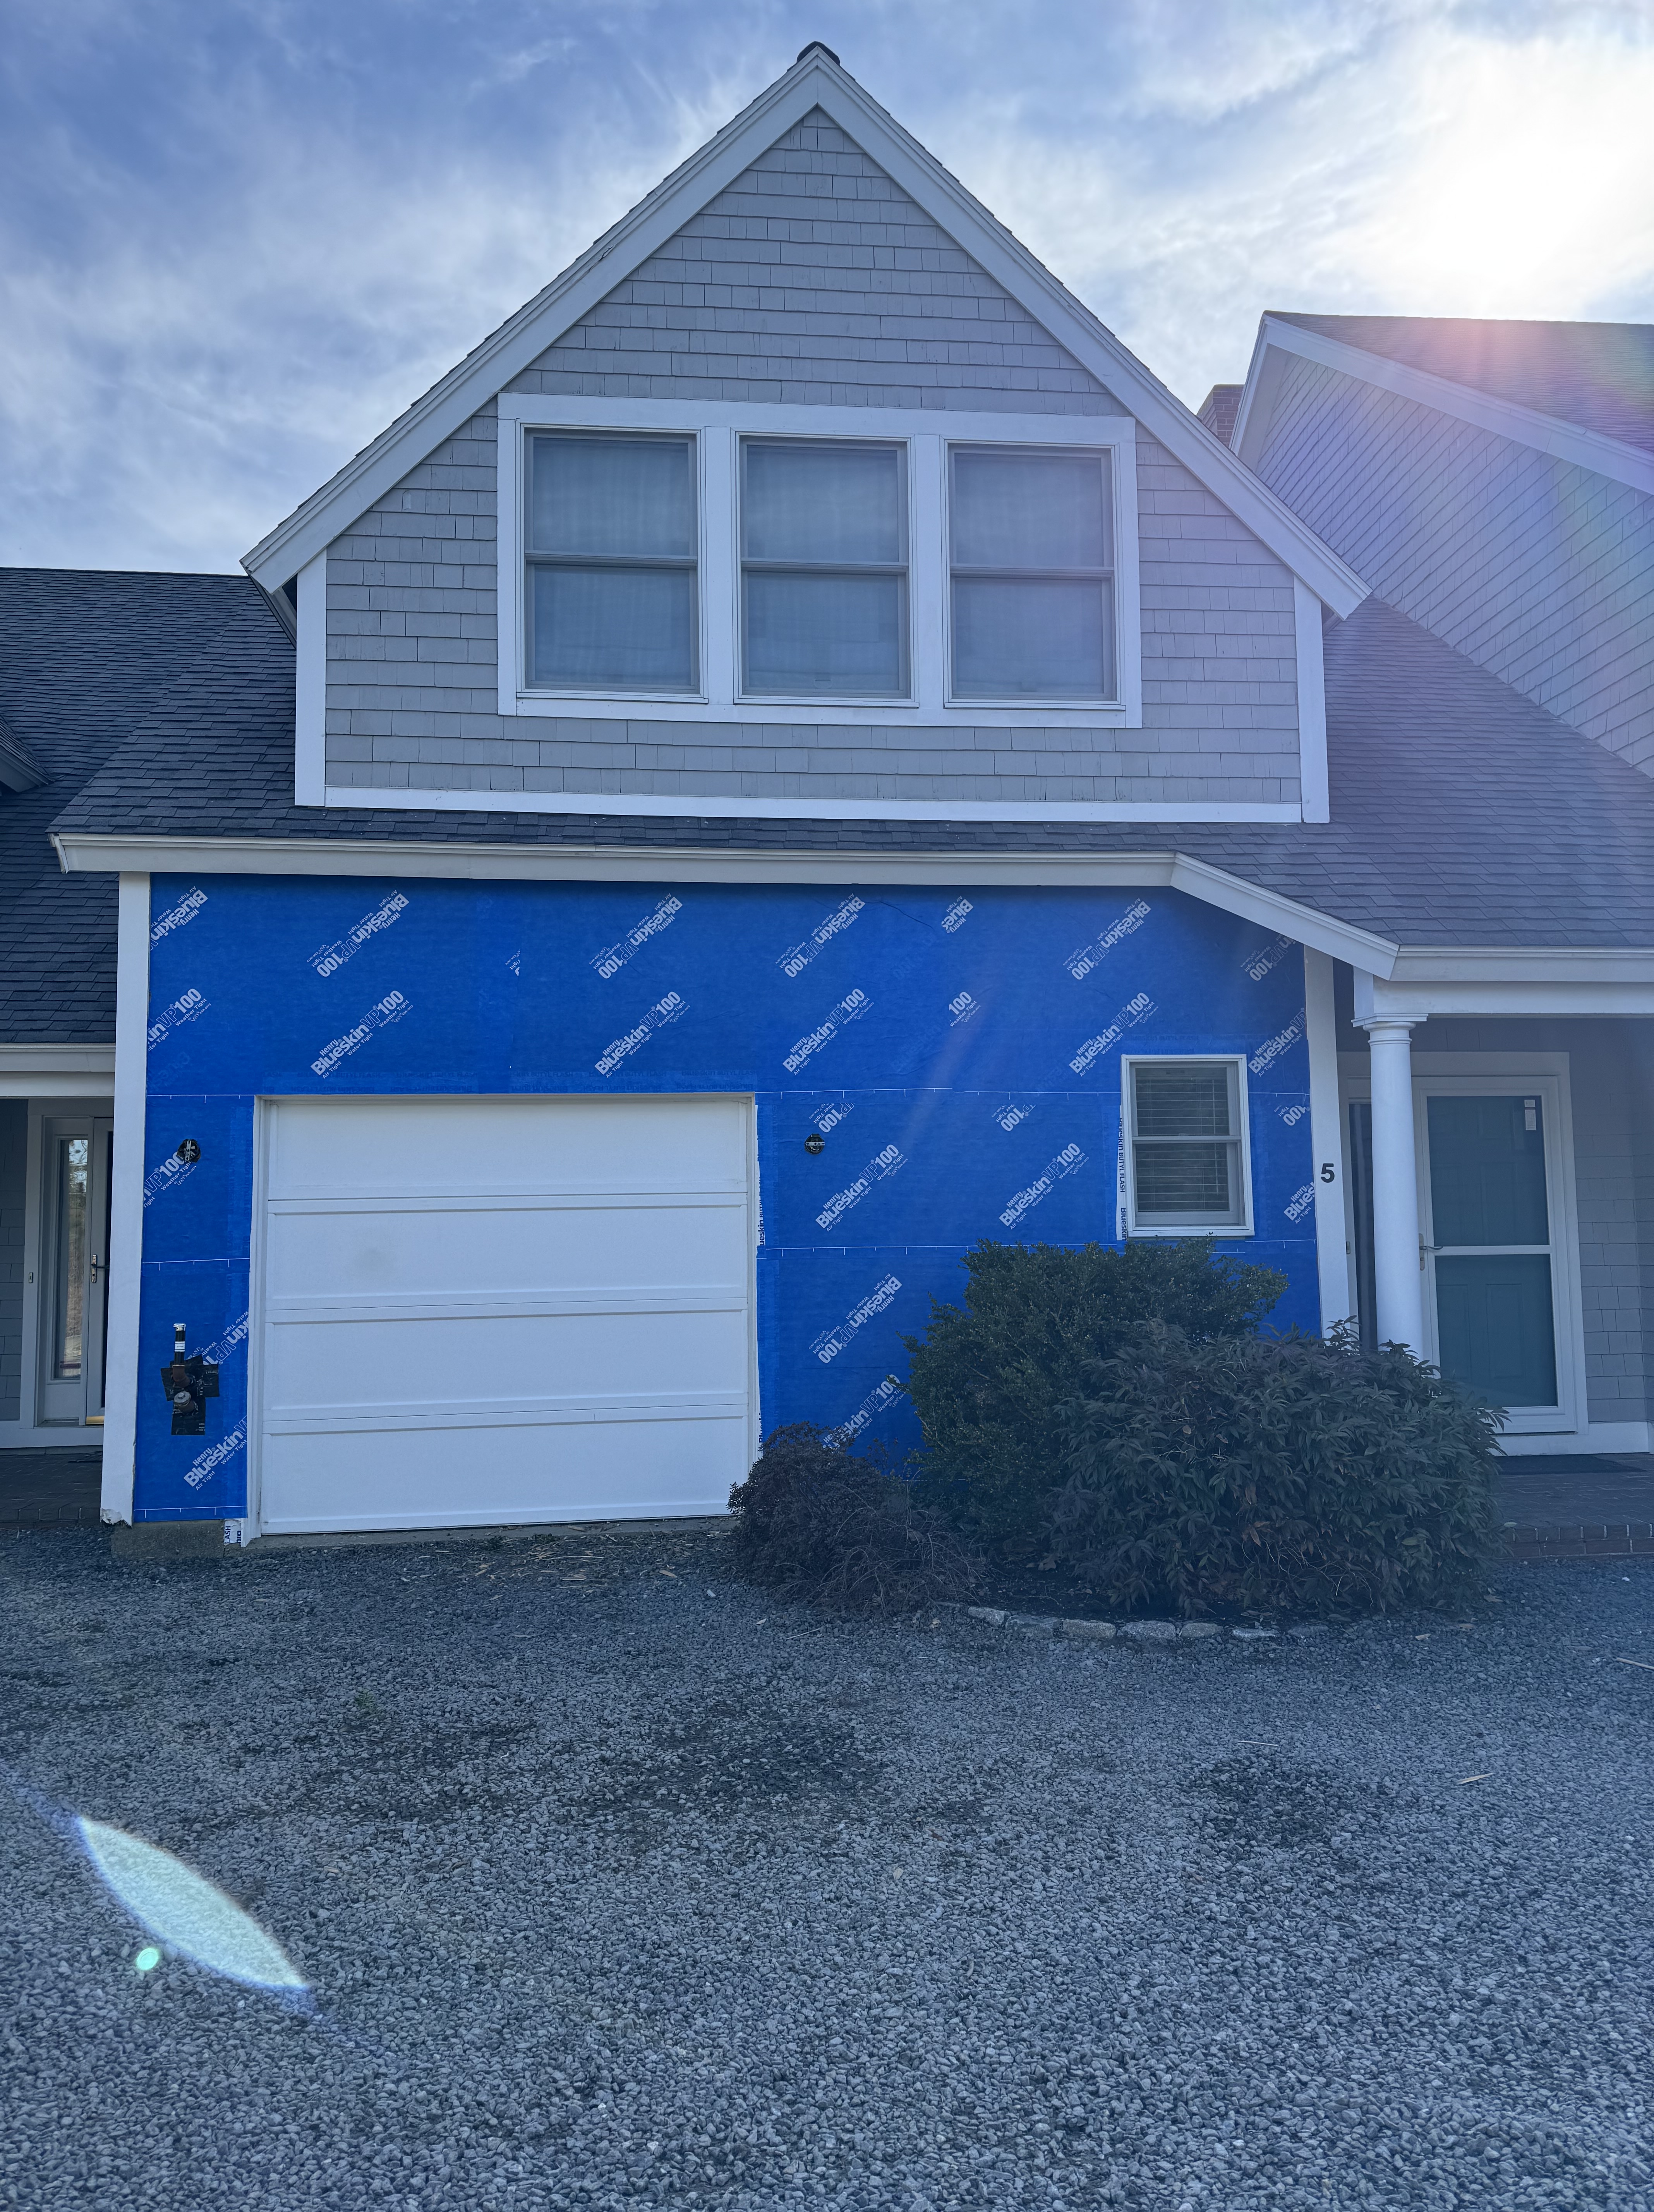
Layered protection
Underneath the shakes, we install a breathable, water-resistant barrier to keep moisture out while letting your home breathe.
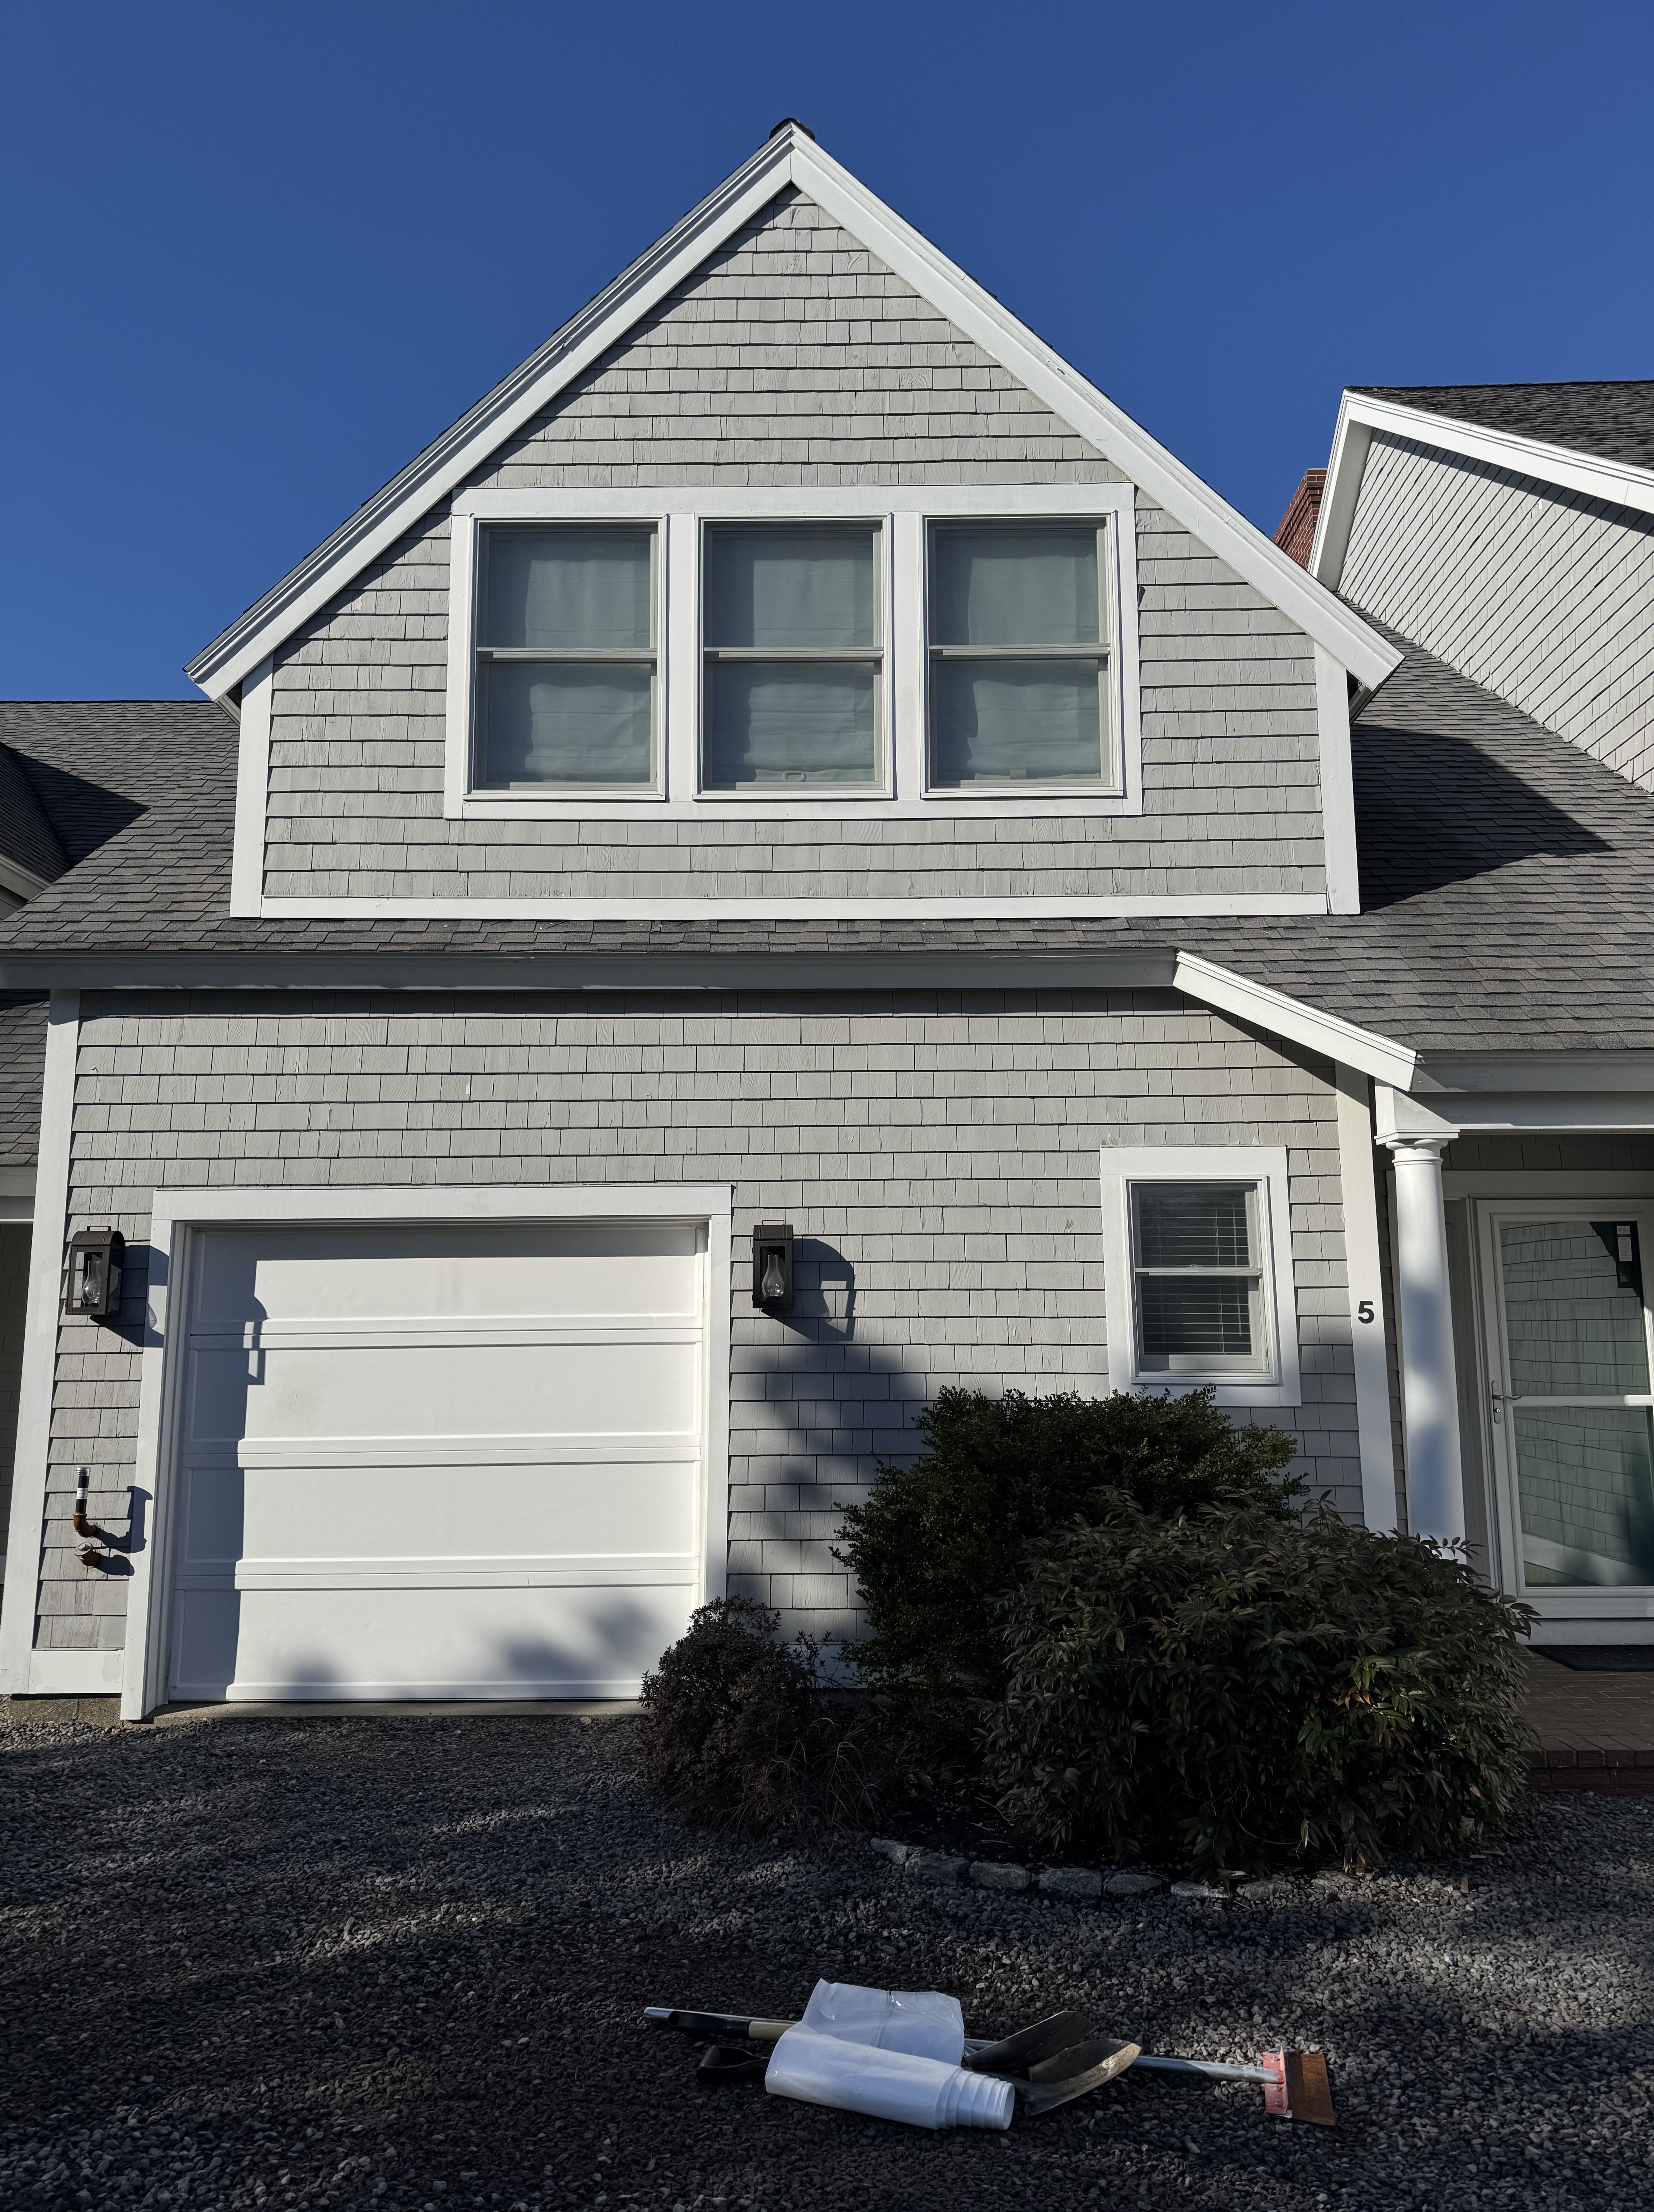
Details matter
Shakes are spaced and staggered just right for proper drainage and visual balance. And we double-layer where it counts—like at the edges and eaves.
Fasteners that don’t quit
We only use corrosion-resistant nails, so you won’t see rust stains or deal with loose shakes down the line.
Ventilation is key
Good airflow behind the shakes prevents trapped moisture and extends the life of your siding or roof.
We’ll show you how to care for it
Cedar ages beautifully, but we’ll walk you through simple maintenance steps to keep it looking its best as the years go by.

Leave a comment